Mosaic enables you to enhance user experience by adapting journeys to different languages and regional preferences. In the client-facing journey steps, like Login Form and Collect information, the text fields can be translated into multiple languages to make your applications more accessible and user-friendly.
Applies only to client SDK journeys, mobile approve journeys, and SSO journeys.
Locale derives from the user's browser or mobile device settings. Locale is then provided to the Orchestration SDK upon its initialization. When running a journey, Mosaic dynamically resolves expressions and interpolated strings into a requested language if it's enabled; otherwise default language will be used (English). If using Mosaic-hosted UI (such as Mosaic-hosted SSO pages), static content also gets translated automatically by Mosaic.
Mosaic journeys don't handle localization of dynamic content automatically. Make sure to provide translation as described here.
In journeys, you can add support for the following languages:
- English (en)
- Spanish (es)
- Portuguese (pt)
- French (fr)
- Janapanese (jp)
- French - Canada (fr-CA)
- Chinese - Traditional (zh-Hant)
- Chinese - Simplified (zh-CN)
In the journey editor, you can add localization for content provided dynamically in:
- Fields containing expressions and interpolated strings, such as a form title or an email subject
- Schemas, such as those created using a form builder
Static content, such as button labels, can also be localized:
- If using Mosaic-hosted UI, static content gets localized automatically
- In applications leveraging your custom UI, you'll need to implement localization in your project
If using Mosaic-hosted SSO pages, to allow localization make sure to enable all the required languages in the SSO Experience Management (see details here).
Provide multi-language translation for each field that needs it, one by one:
- In a journey step settings, locate a field containing an expression
 or an interpolated string (denoted with
  ) and select Edit.
 - Select the language drop-down (
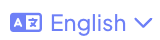 ) and specify the language you want to provide translation to.
 - Update the field value. Once you provide the localized value for the field, the green icon will appear in the drop-down next to the language name (
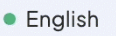 ) indicating that this language is supported.
 - If necessary, provide translation to other languages.

Provide multi-language translation for schemas:
- In a journey step settings, locate a schema you want to localize.
- When editing a form for a schema, select the language drop-down () and specify the language you want to provide translation to. This switches the language for the entire form.
- Specify a field on the left and provide translation for its label and default value on the right.
Don't not update the field name when localizing the schema since it is considered an internal identifier and has to stay same across all languages.
- Once you provide the localized values, the green icon will appear in the drop-down next to the language name () indicating that this language is supported. If necessary, provide translation to other languages.
During the SDK initialization, the client can pass locale as an optional parameter to enforce journey localization.
  // If SDK was loaded via script tag, invoke functions inside 'window.tsPlatform'
  import { initialize } from "@transmitsecurity/platform-web-sdk";

  // If SDK was loaded via script tag, invoke functions inside 'window.tsPlatform'
  initialize({
    clientId: "my-client-id", // Client ID from app settings in the Admin Portal
    ido: {
      serverPath: "https://api.transmitsecurity.io/ido", // Required: Set serverPath based on your region or custom domain
      locale: navigator.language // Gets locale automatically from the browser
    }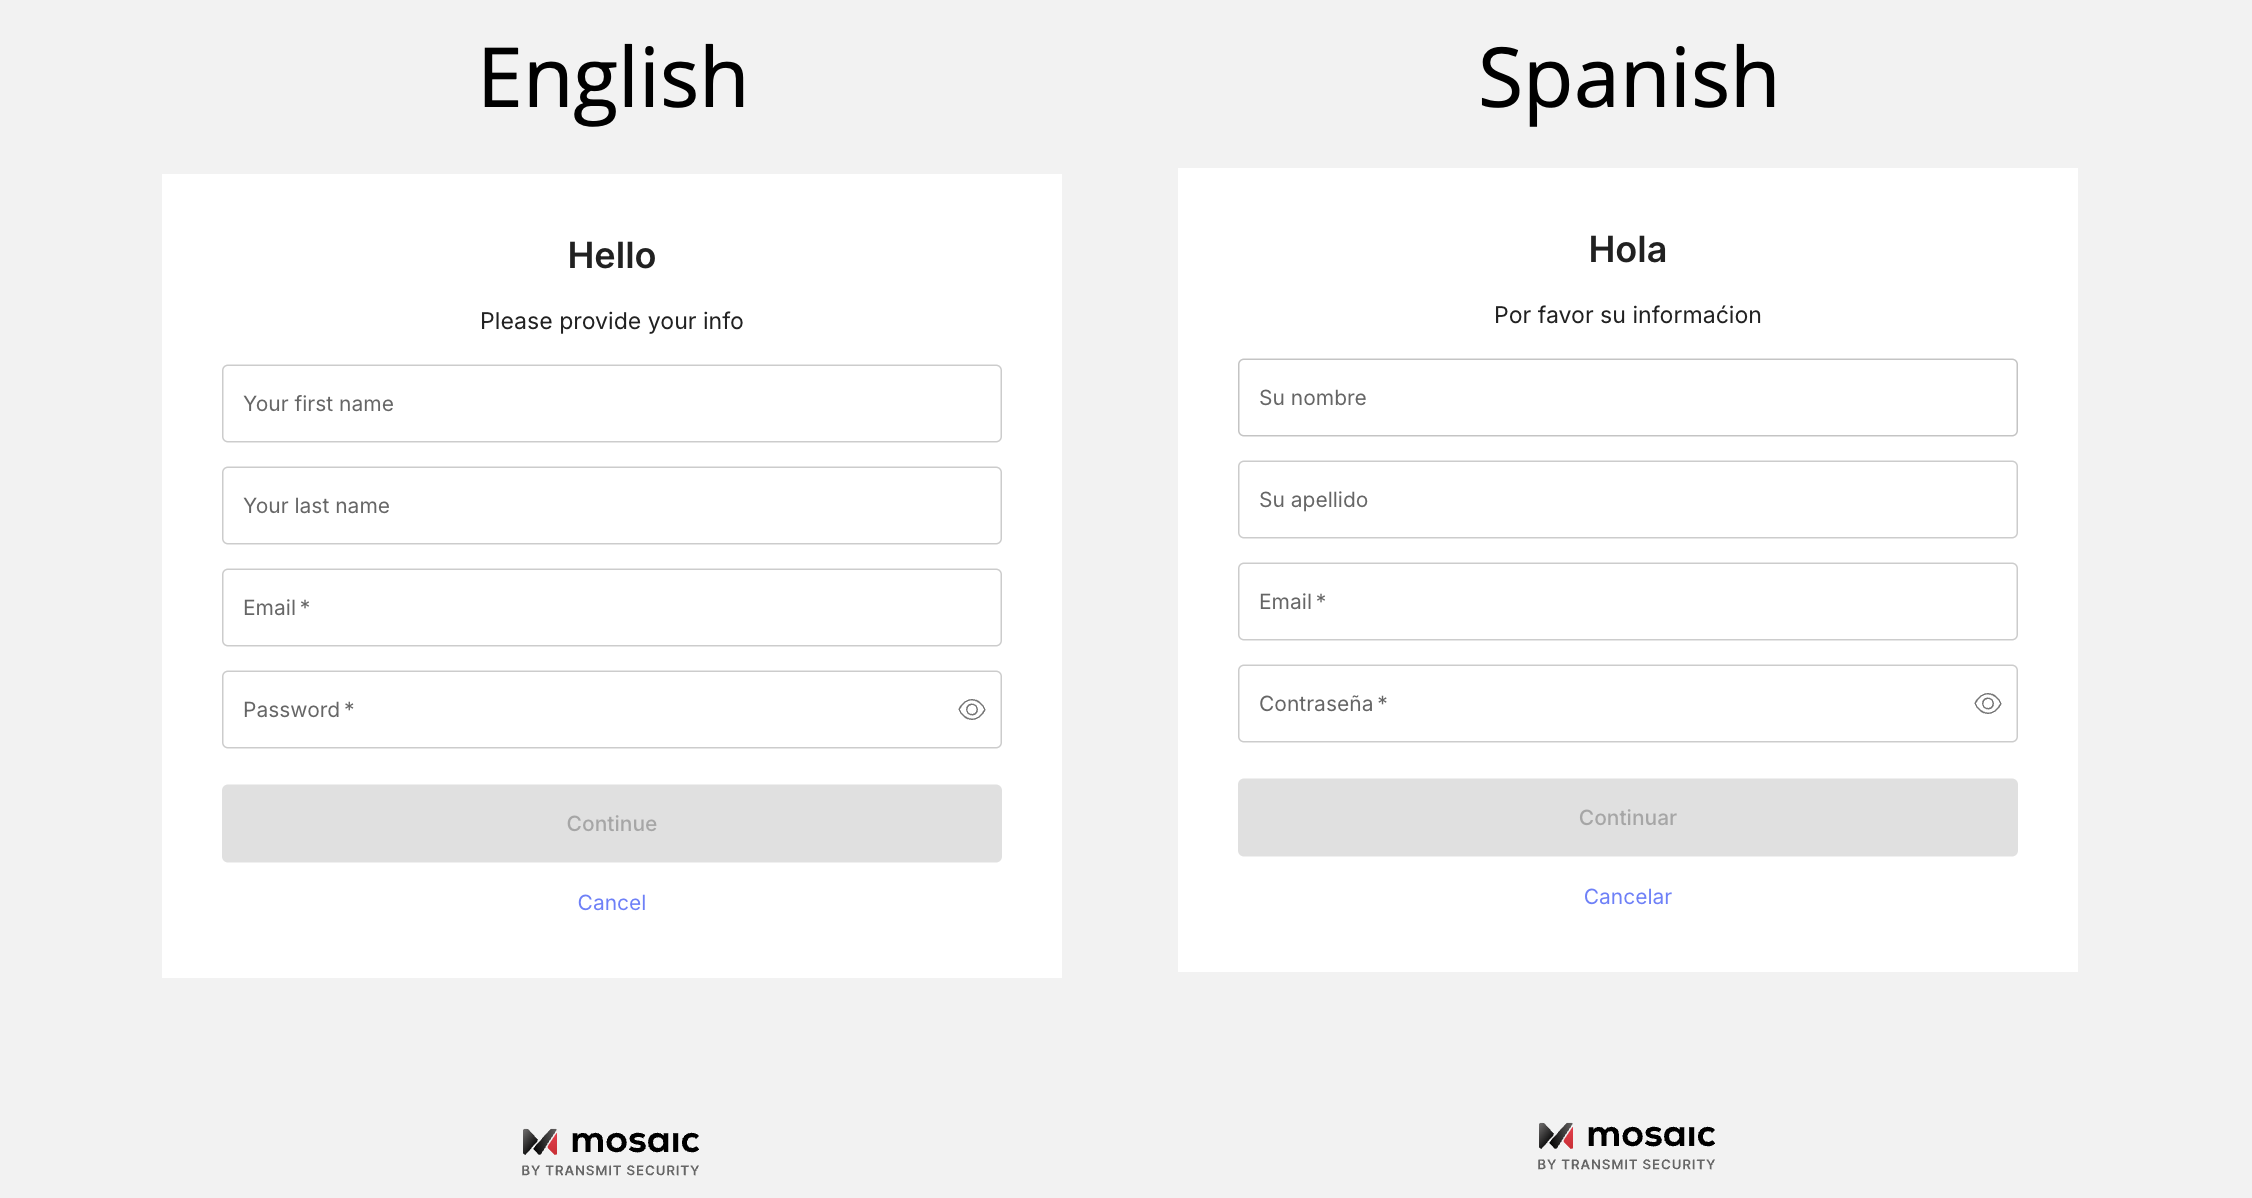
});Imagine a user onboarding form (see Collect information step). The user is requested to provide their personal details such as their full name, email, and phone number. To provide better user experience, you can localize both the introductory text (title and description) and the hints on the input fields.