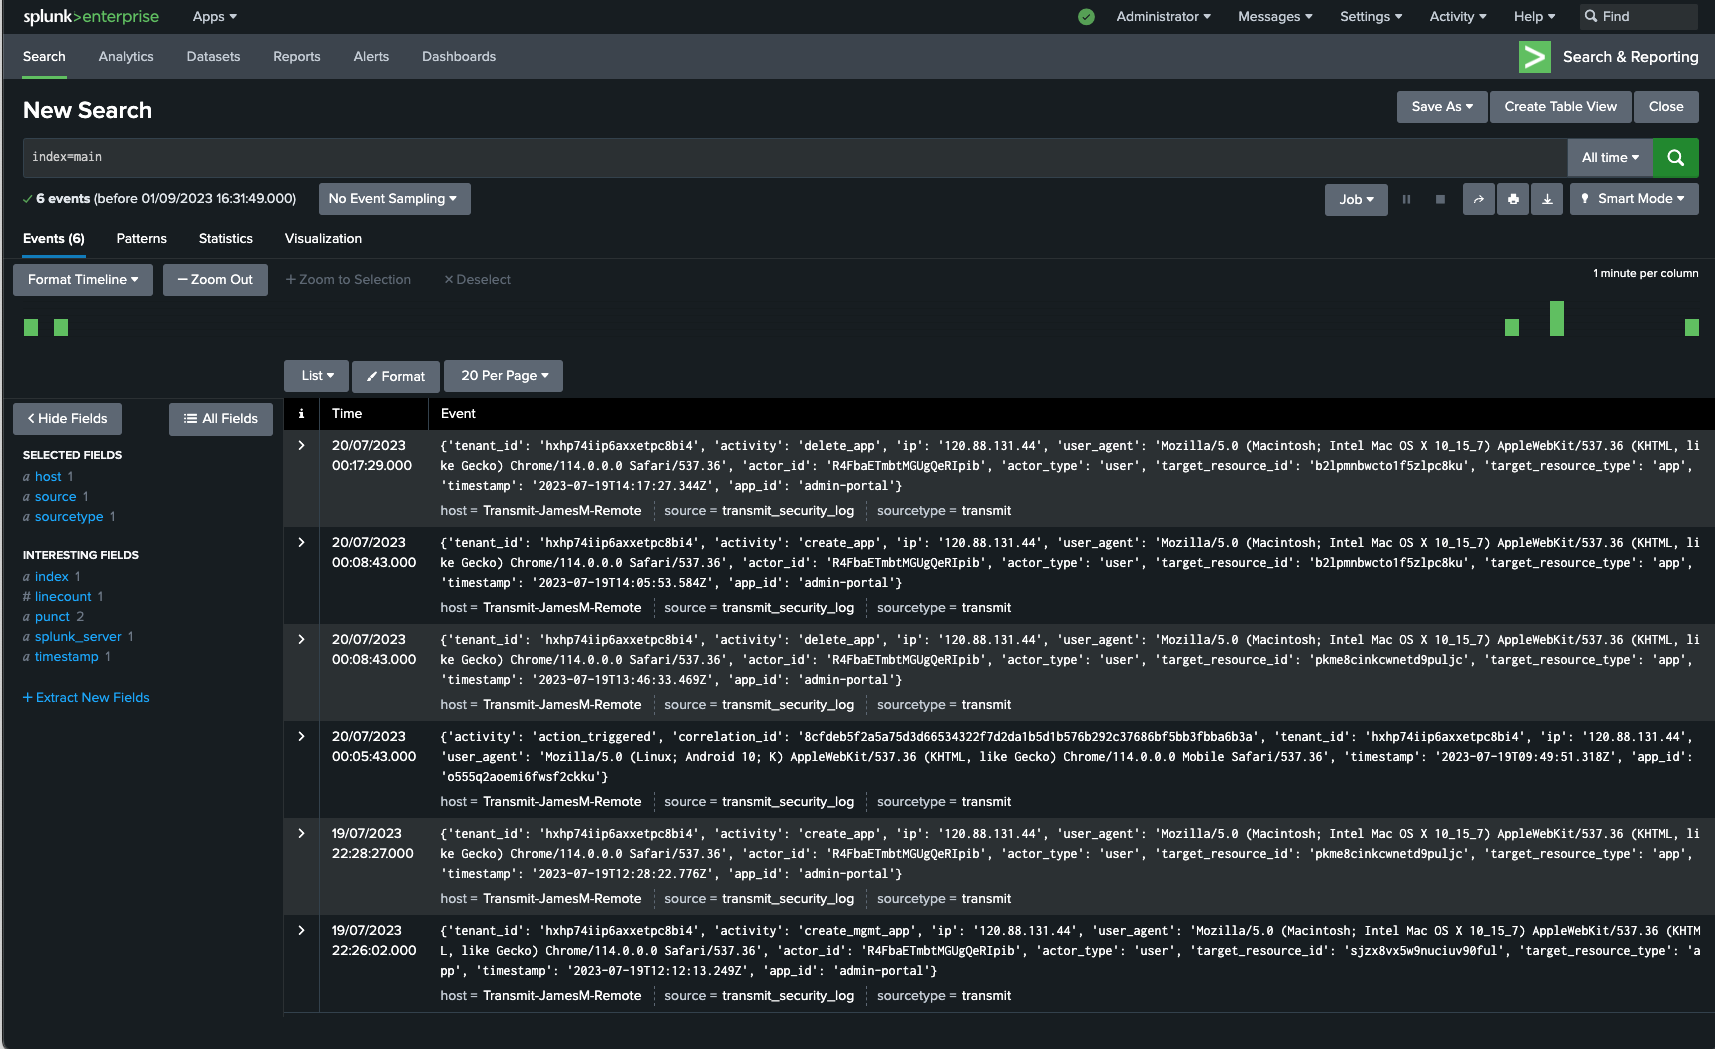
You can feed data to Splunk via Mosaic Events Add-on . This plugin will help you keep track of activity by polling Event streaming API.
In your Mosaic tenant, configure a management app. Give the app a suitable name, for example, MySplunkLogStream.
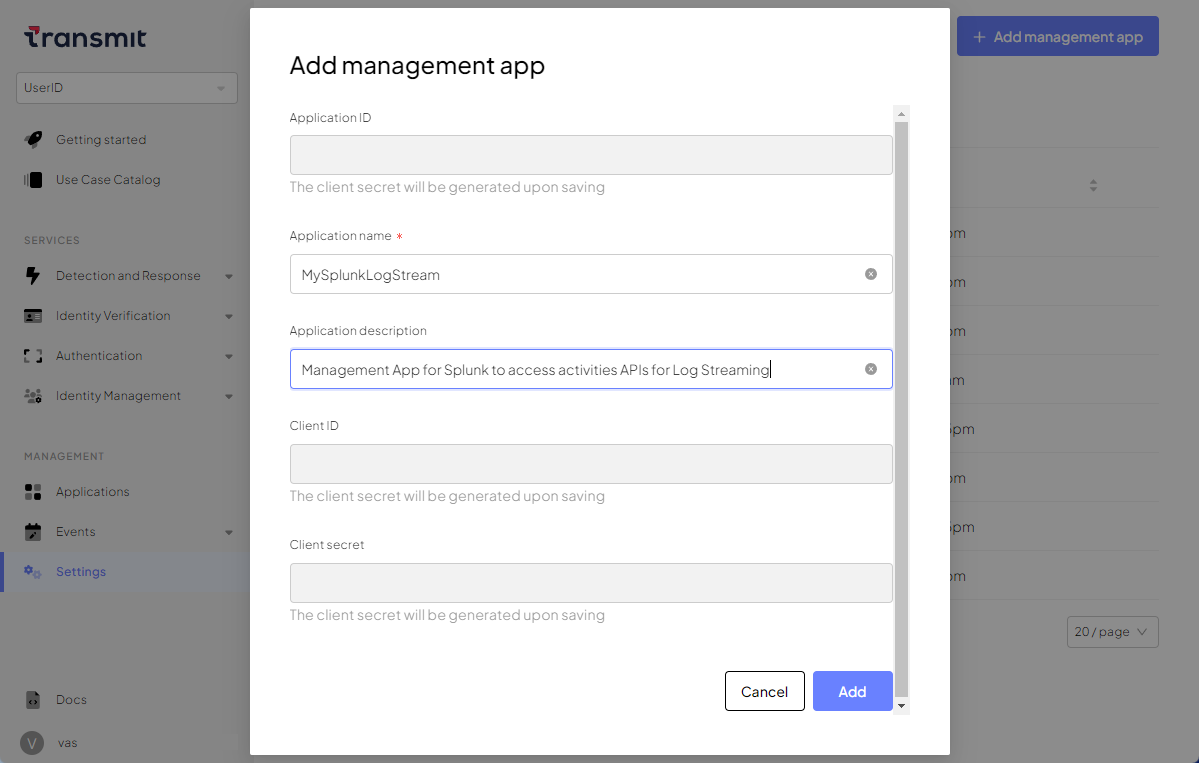
After saving the management app, open it again and note the Client ID and Client Secret values. You’ll need these parameters to install the Splunk App.
Before you can start feeding events to Splunk, you have to create event streams in Mosaic. You can create as many event streams as needed.
- In the Admin Portal, navigate to Events streaming and select Create stream.
- Complete the stream configuration by providing the stream identifier, event type to collect, and batch size. Set the stream destination to Splunk. For more details, see About events streaming.
- Obtain the request URL by clicking
next to the stream name and then Copy URL.
You have the following options:
- Install the plugin directly from Splunk portal. This option supports both Splunk Enterprise and Splunk Cloud environments.
- Download the plugin and install it manually. This option only supports Splunk Enterprise environments and doesn't work for Splunk Cloud users.
To install the plugin from Splunk portal:
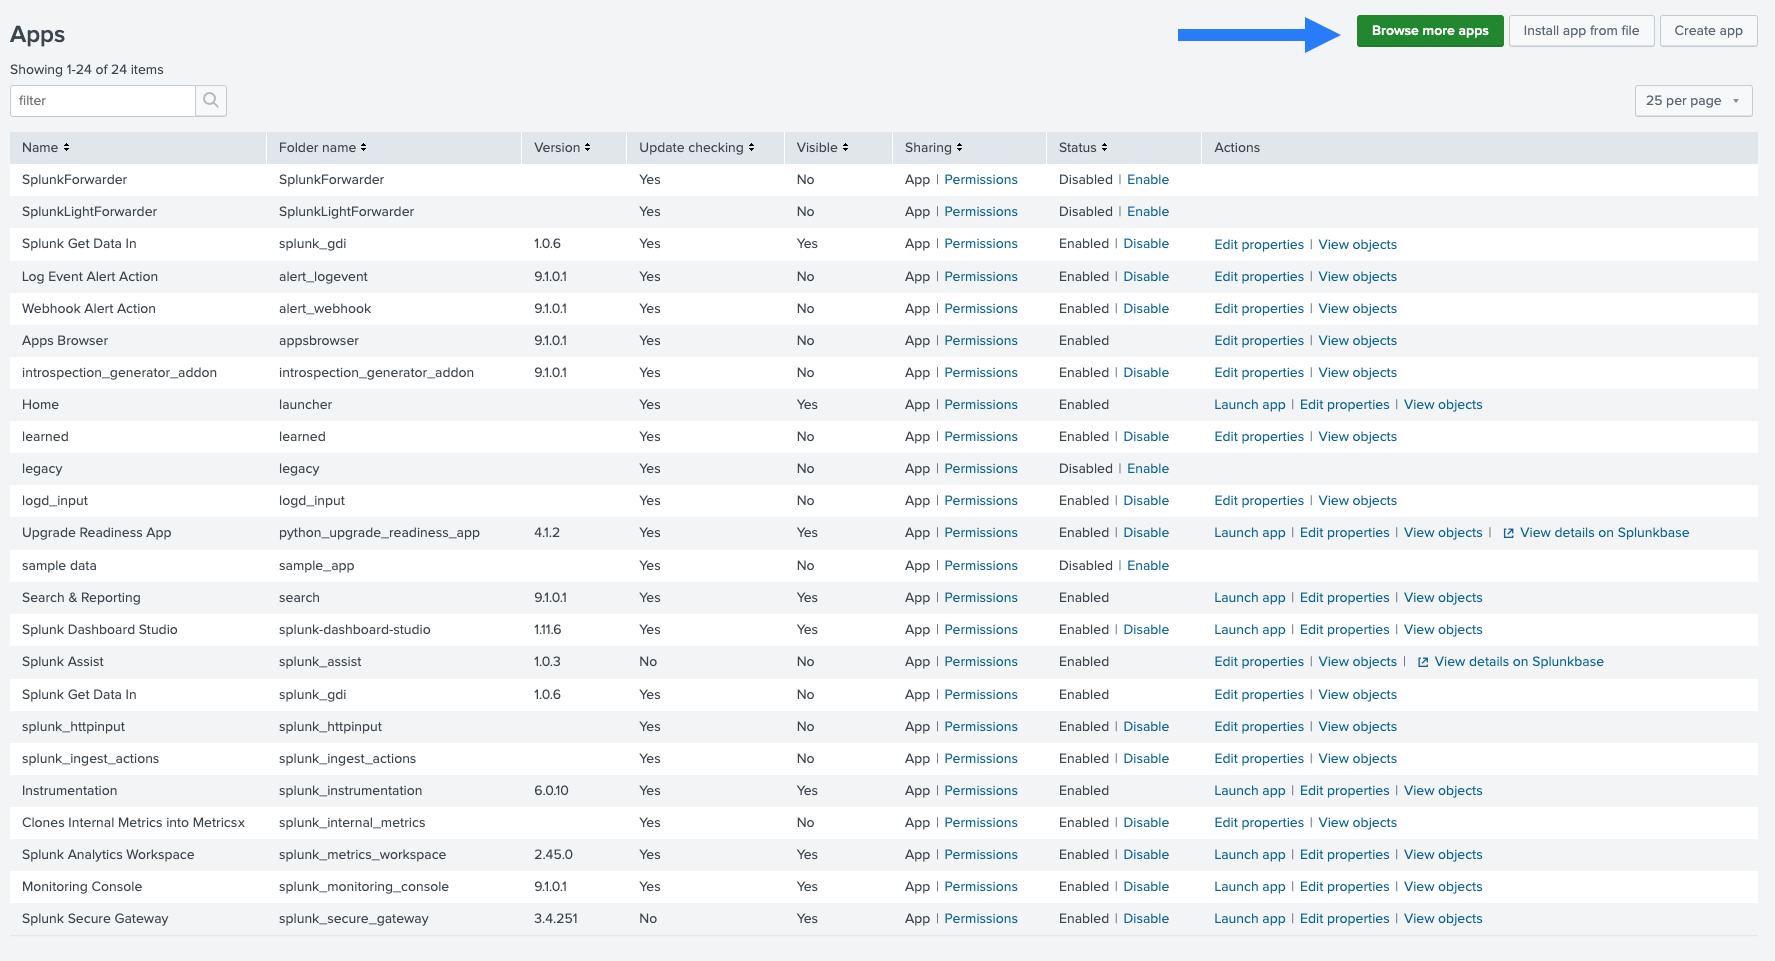
- While logged in, go to Apps > Manage Apps, then click Browse more apps:
- Search for Mosaic Events Add-on:
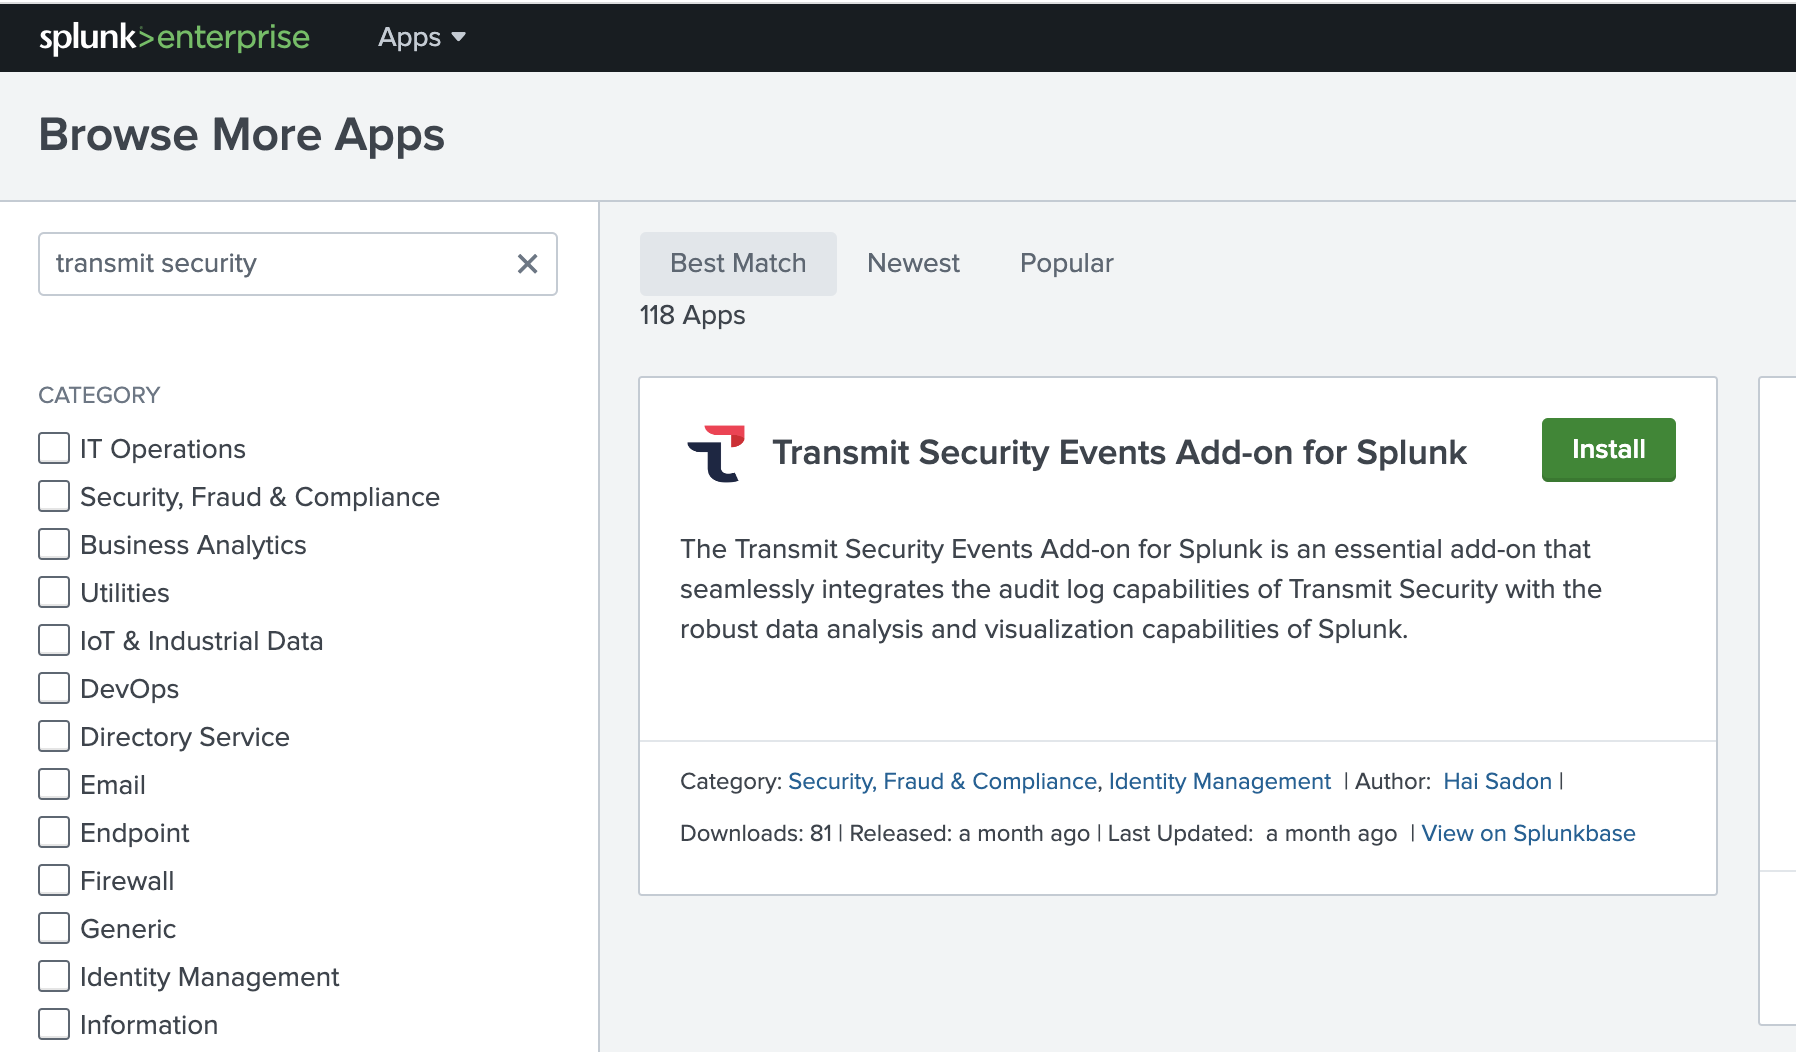
- Click Install on the Mosaic Events Add-on tile.
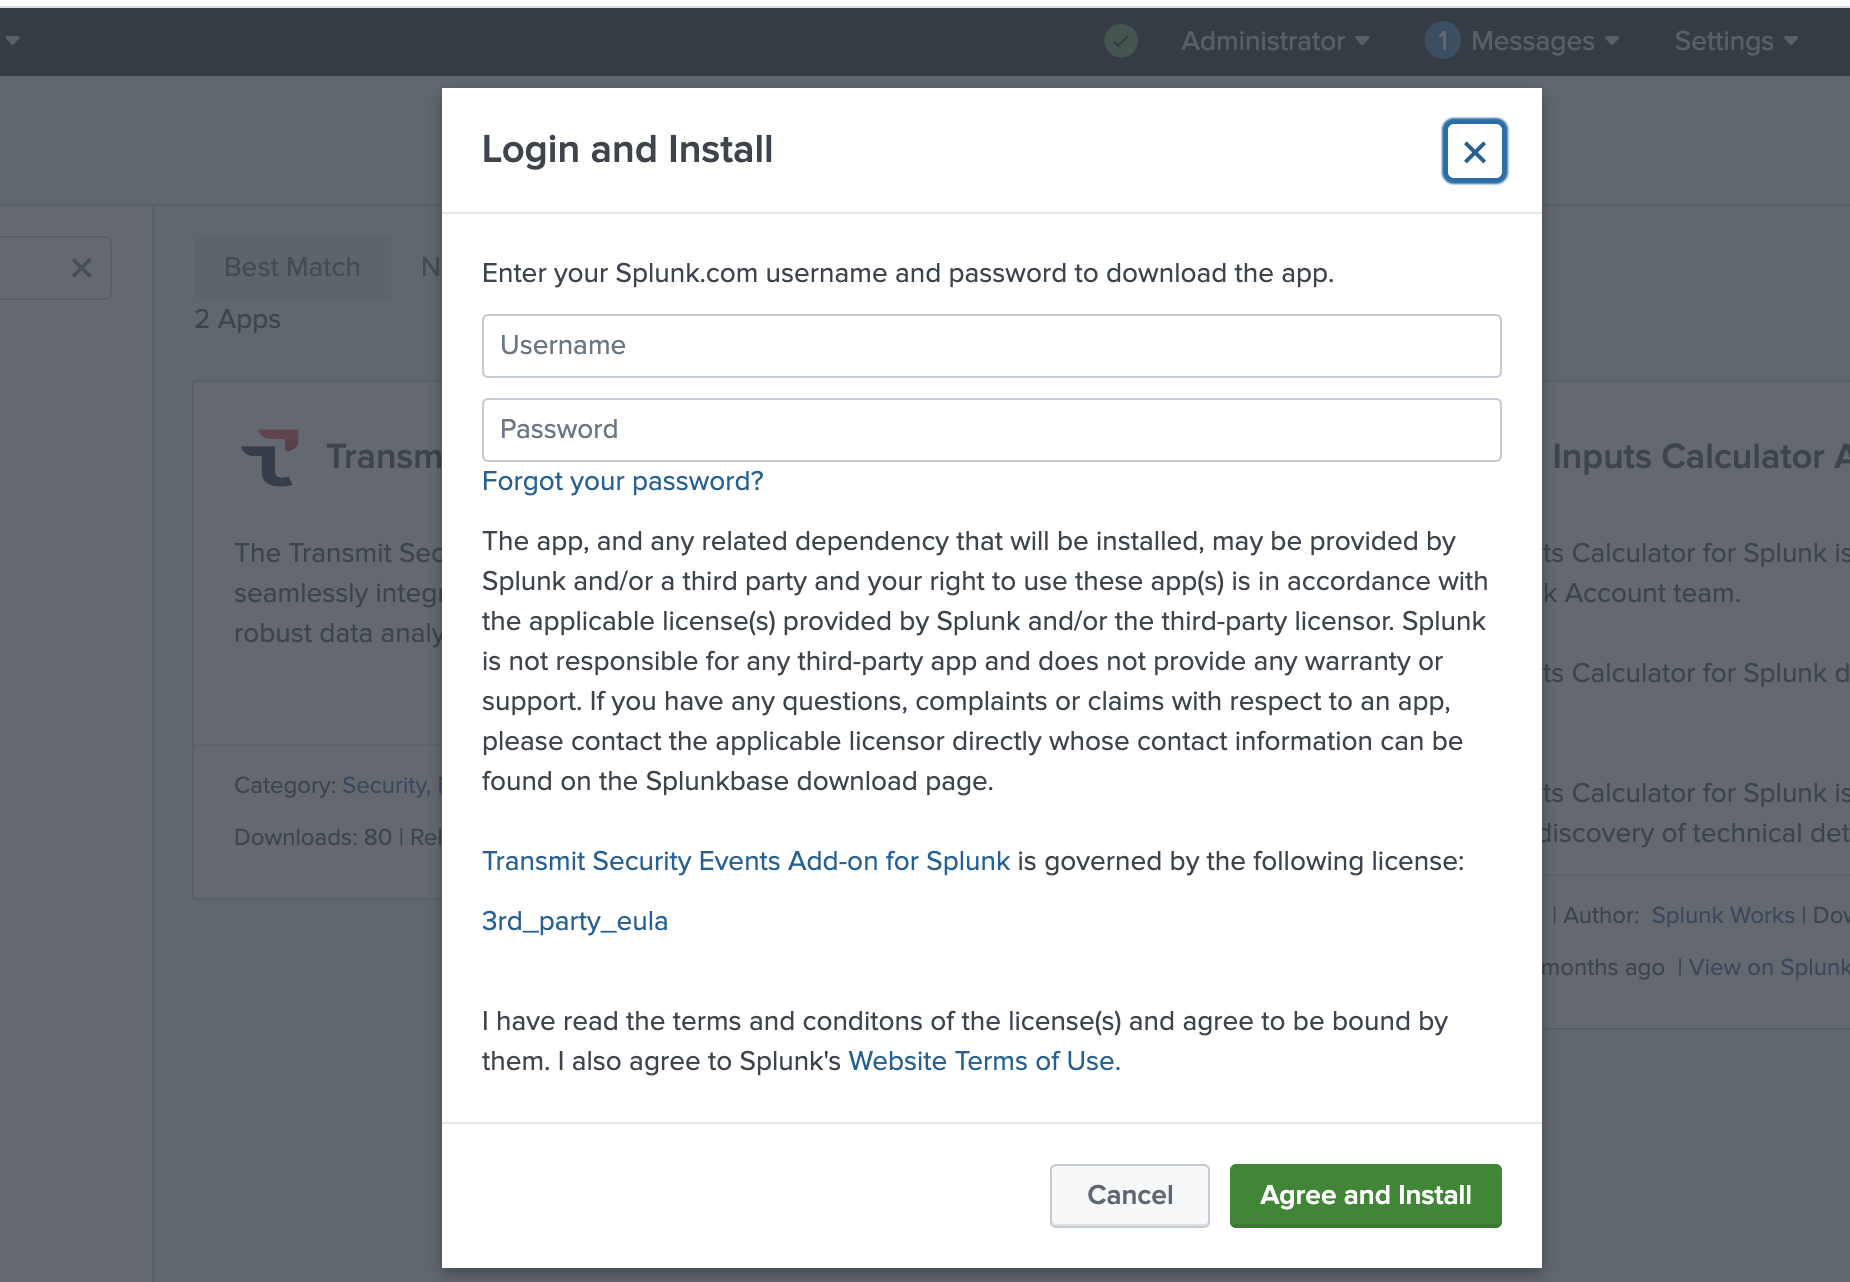
- Log in with your Splunk username and password:
- Restart Splunk.
To install the plugin manually (only in Splunk Enterprise environments):
- Download Mosaic Audit Log Connector for Splunk.
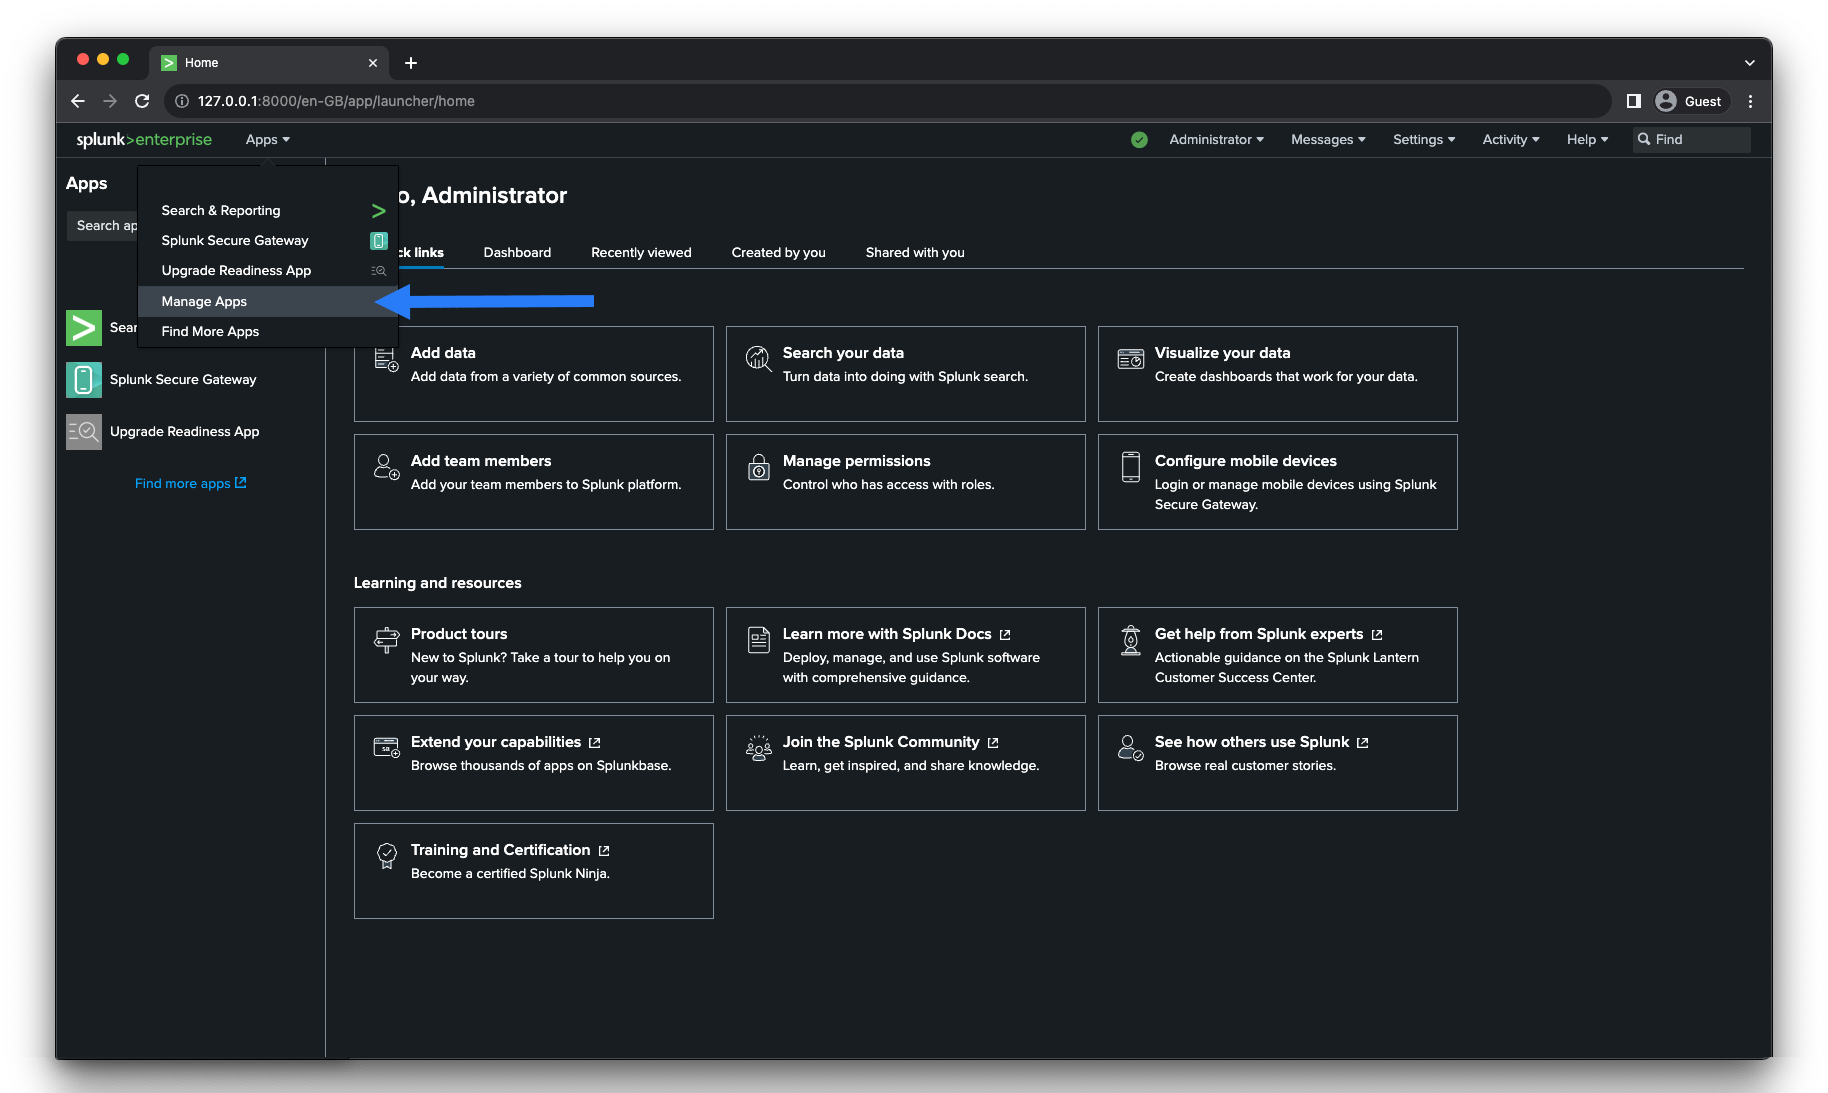
- On Splunk portal, go to Apps > Manage Apps:
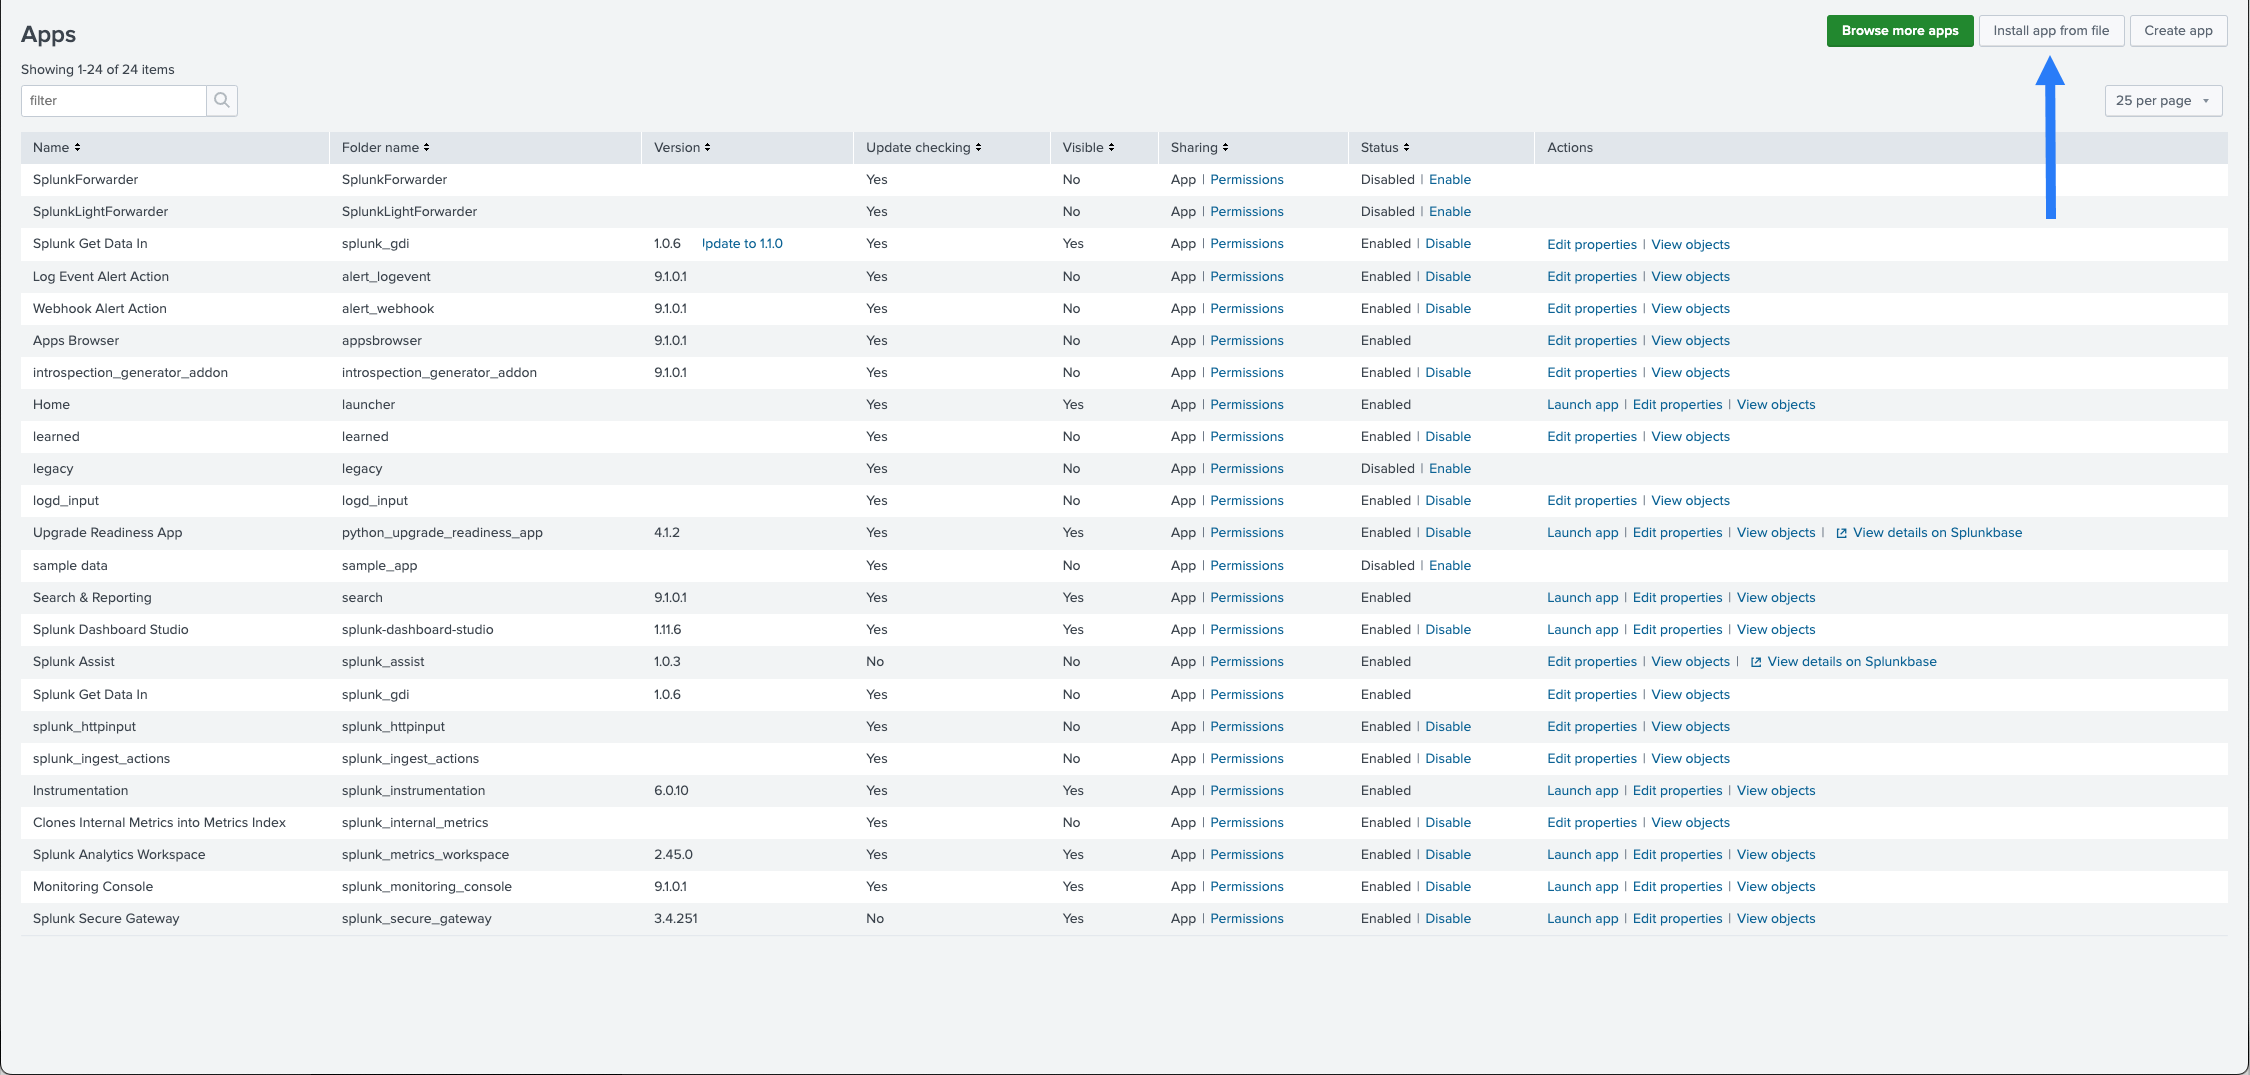
- Click Install App from File:
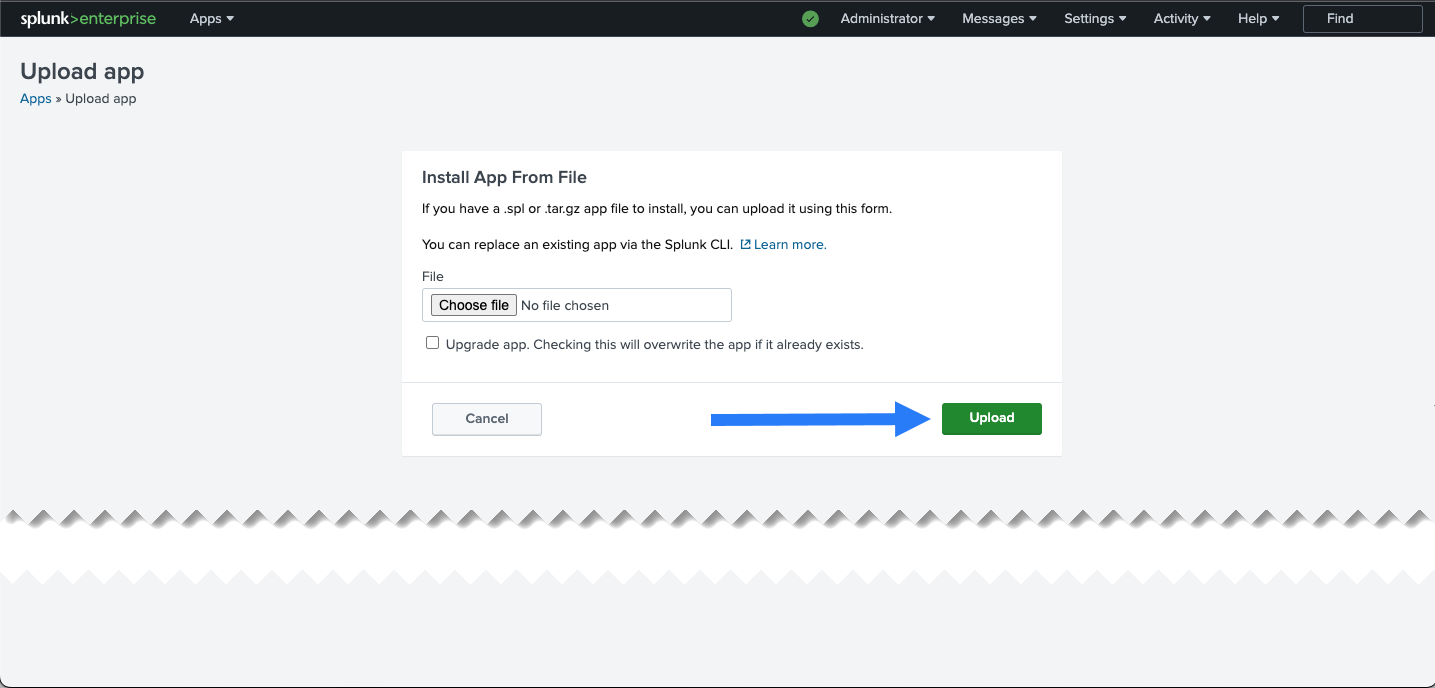
- Upload the file you've downloaded from Splunkbase:
After installation, the browser redirects you to the Apps page. This page now shows Mosaic on the app list. 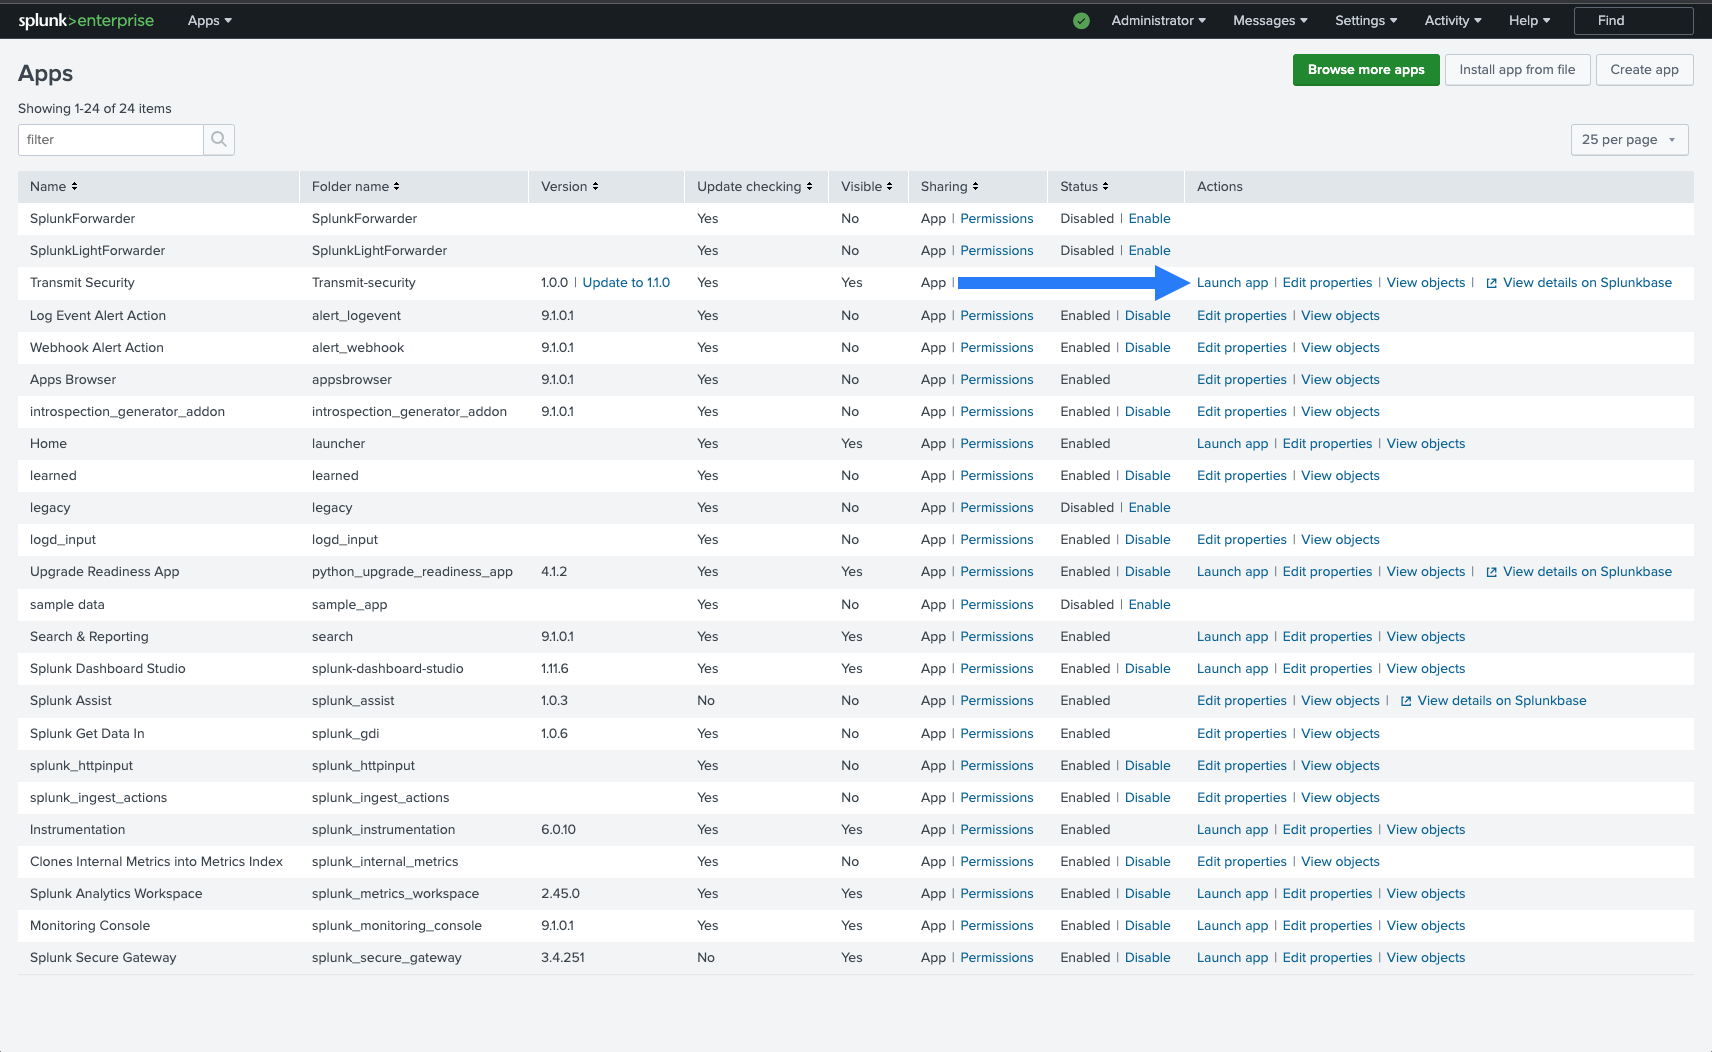
Now you need to launch the app and configure inputs for each stream you've created individually:
- Launch the app from the Apps page.
- Click Create New Input:
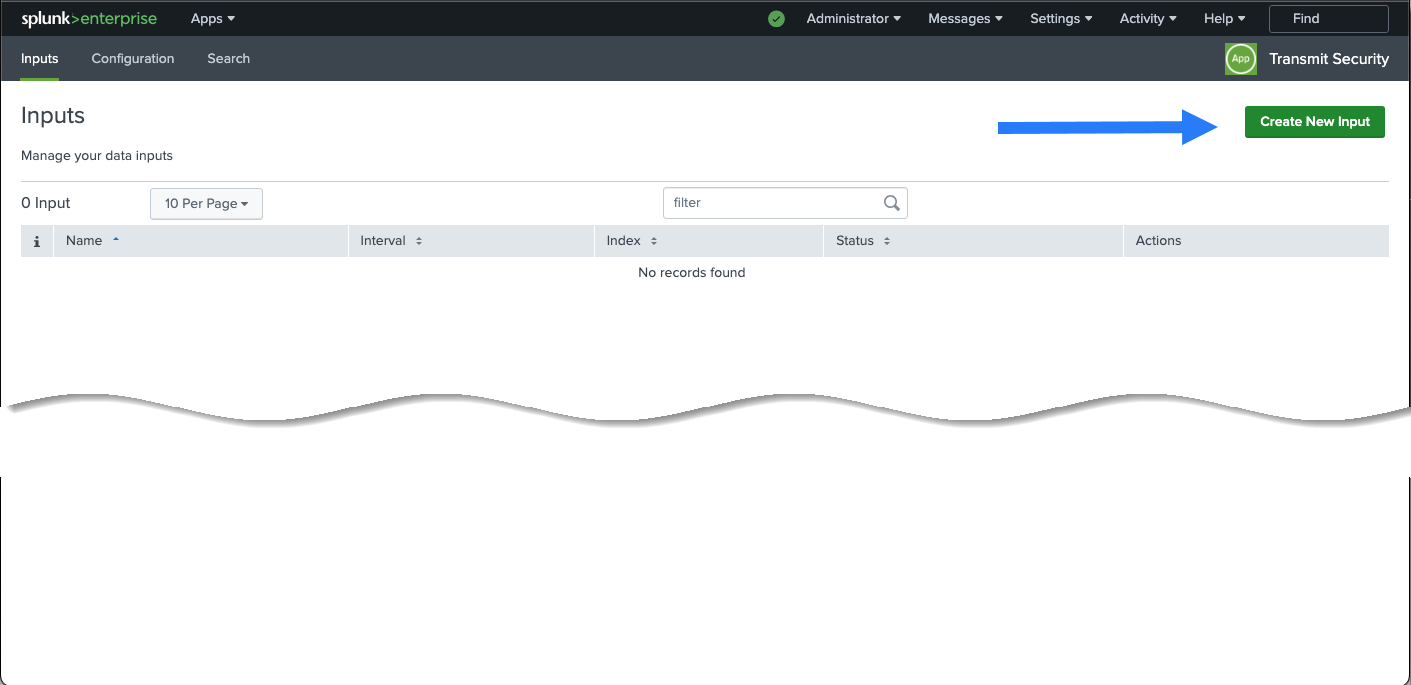
- Configure inputs:
- Name: Give the input a meaningful name, for example,
Transmit_User_Events. - Interval: Enter polling interval in seconds.
- Index: Use your preferred index; for example, you can choose
defaultormain. - OAuth Endpoint: Token exchange endpoint:
https://api.transmitsecurity.io/oidc/token(useapi.eu.transmitsecurity.iofor the EU andapi.ca.transmitsecurity.iofor Canada). - Endpoint: Provide the URL you obtained upon creating a stream in Mosaic. For example,
https://api.transmitsecurity.io/activities/v1/activities/collect?type=cis&stream_id=12345&batch_size=50. - Client ID and Client Secret: Use the values from the Management App you've created in the Mosaic portal earlier.
- Name: Give the input a meaningful name, for example,
When defining the polling interval, consider the level of activity on the platform. For instance, you may want to use a longer polling interval, like 3600 (1 hour), for low traffic or a shorter interval, like 300 (5 minutes), for high-traffic situations.
Check how the connector works using the Search app. Include sourcetype=transmit in the search bar. If the search isn't working, restart Splunk.
