Manage applications
Applications and clients can be managed either using Management APIs, or from the Admin Portal (as described below).
View or search apps
The Applications page presents a list of all your applications, including basic details like the application ID and name, when it was created, which admin created it, and the last time a user logged in. You can search for a specific application by name using the search box on the top-right, and click to view the Application settings.

Manage apps
You can manage your applications from the Applications page:
- Create an app by clicking + Add application and configuring Application settings .
-
Edit an app by clicking
and then Edit .
-
Delete an app by clicking
and then Delete .
Application settings
You can access your application settings from the Applications page by clicking the relevant application in the table.
Basic information
Basic application information includes:
- Application ID : Application identifier, automatically generated when the app is created. It cannot be edited.
- Application name : Name of your application, displayed in the Admin Portal.
- Application description : Short description of your application, displayed in the Admin Portal.
- Application logo : Your application's logo when needed (e.g., in email templates) in jpeg, png, or webp format.
Advanced settings
Advanced app settings include:
-
Public sign-up
: Allows login flows to automatically create new users (or associate existing users with the application) the first time they log in. For example, you can control whether or not to allow registration of guest users (users who are new to the app). If enabled, auto-creation of new users can be requested via the
create_new_userparameter of Authentication APIs, orcreateNewUserparameter of the OIDC authorization API . - B2B application : Allows setting this application as a B2B application and includes configuration options, such as an application URI for inviting members, a designated OIDC client that doesn't enforce PKCE for sending invitations, invitation link expiration setting, etc.
- Service providers : Allows third-party providers to perform SSO via your application.
- Authentication Hub : Allows setting this application as the Authentication Hub for your tenant. It can then be used by other apps of the tenant to authenticate users (in a centralized login flow), and perform SSO across the apps. Only one application can be set as an Authentication Hub per tenant.
Clients
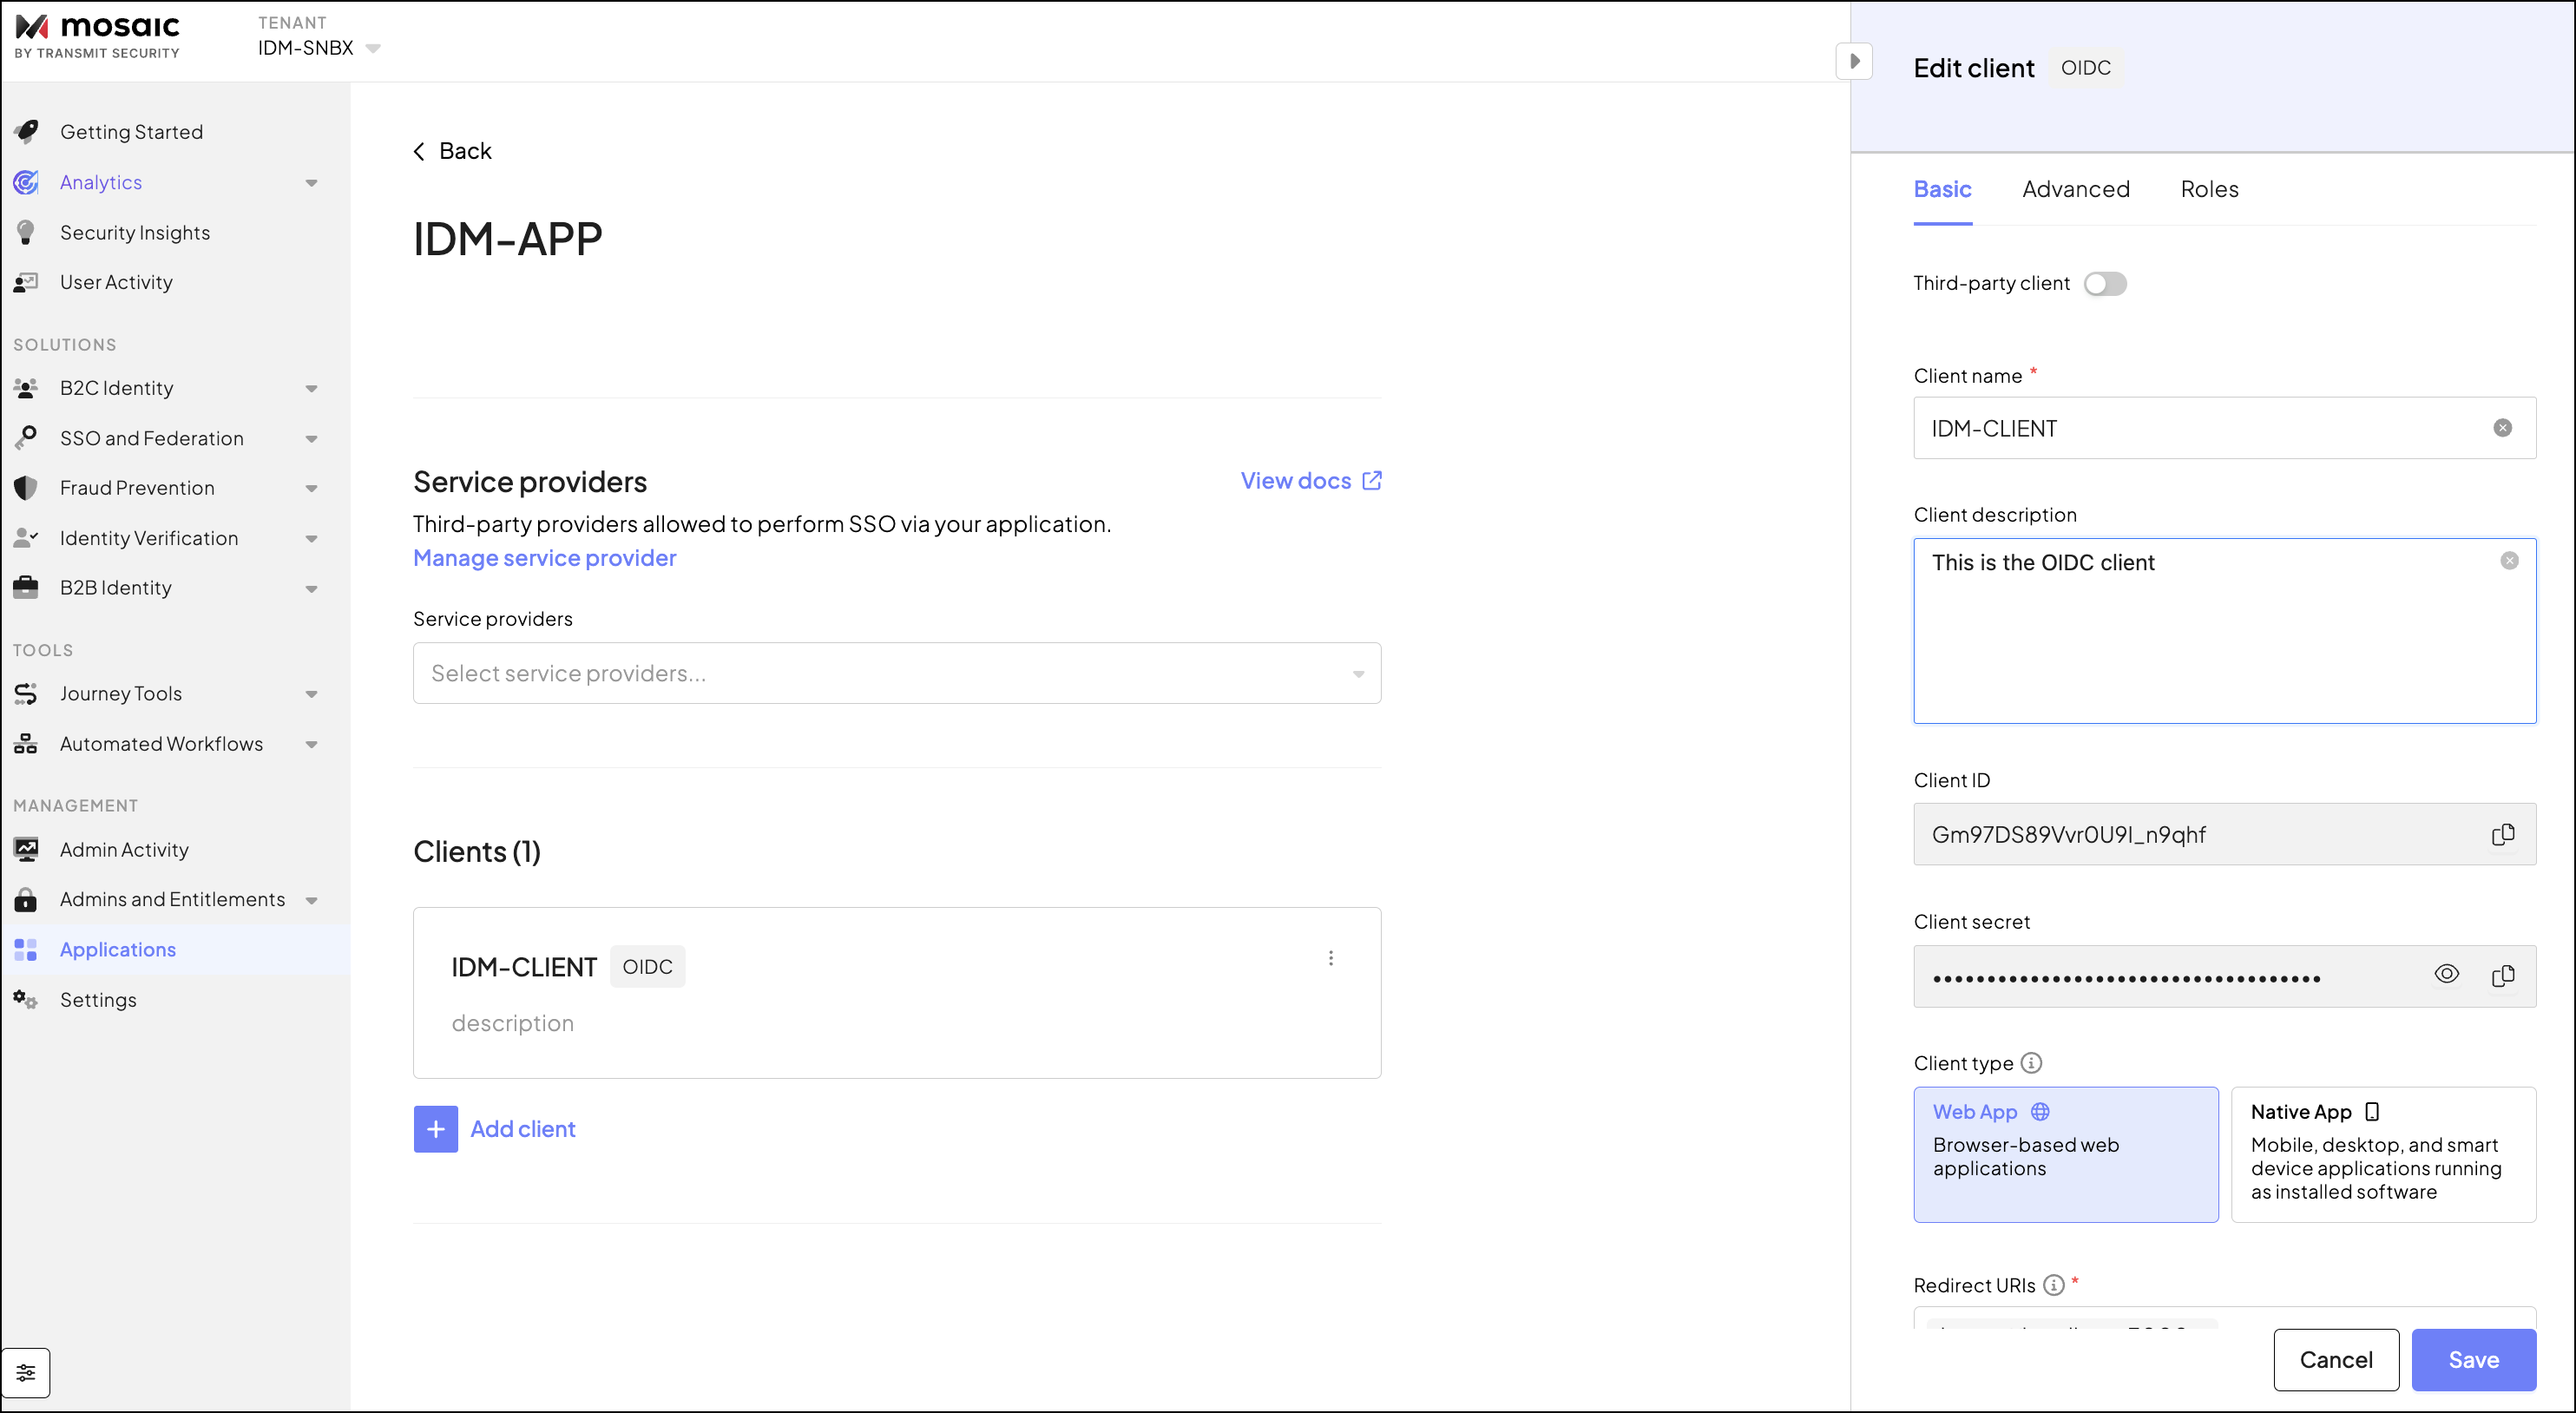
This represents the clients that will be requesting Mosaic services, such as your retail website or your Android banking application. To build identity experiences with Mosaic, you have to create at least one client for the app. You can add several clients and leverage a multi-client application setup. Depending on your business needs, Mosaic allows creating OIDC and SAML clients. See Manage clients
Manage login preferences
Login preferences define which authentication methods the application can offer its end-users. For example, it allows you to configure provider credentials for social login, or to customize the branding of email templates for magic link authentication. Login preferences for your application are configured from the B2B or B2C Identity (based on your setup) > Experience Management (select your app).